


As the snow melts and the weather warms, we often find ourselves dealing with leaks that seem to appear out of nowhere. Many times, these unwelcome drips trace back to issues with our chimneys. We’ll be looking at how problems with chimney flashing repair and the condition of our chimney’s mortar can lead to these spring surprises, and what we can do about it.
Key Takeaways
- We need to check our chimney’s flashing for damage like cracks or loose sections, as this is a common spot for water to get in.
- Fixing chimney flashing repair issues promptly stops small problems from becoming big water damage headaches.
- We should also keep an eye on our chimney’s mortar for crumbling or gaps, and make repairs to keep water out.
Addressing Chimney Flashing Repair for Spring Leaks
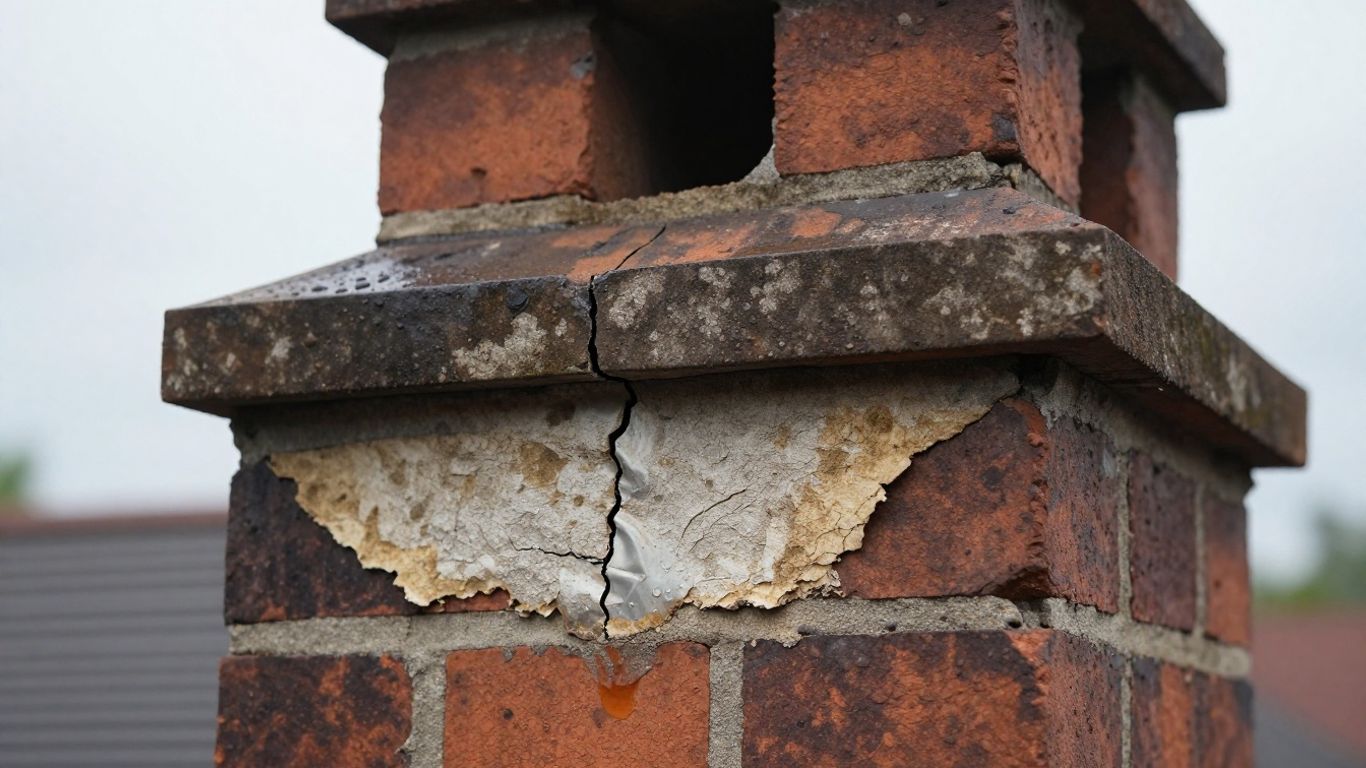
As the snow melts and spring rains begin, we often find ourselves dealing with unexpected water issues around our homes. One common culprit, especially for older houses, is the chimney. The flashing around your chimney is designed to keep water out, but over time, it can degrade, crack, or pull away, creating an easy entry point for moisture. Addressing chimney flashing repair promptly is key to preventing those dreaded spring leaks.
Identifying Common Chimney Flashing Issues
We’ve seen a few recurring problems with chimney flashing that lead to leaks. It’s good to know what to look for:
- Rust and Corrosion: Metal flashing, especially if it’s older steel or iron, can rust. This creates small holes and weak spots where water can seep through.
- Cracked or Gapped Seals: The sealant used to join flashing pieces or seal edges can dry out, crack, and pull away from the chimney or roof. This leaves gaps that are perfect for water.
- Loose or Lifted Flashing: Wind, ice, and the natural expansion and contraction of building materials can cause flashing to become loose or even lift away from the roof surface. This creates a direct path for water.
- Improper Installation: Sometimes, the flashing was never installed quite right in the first place. This could mean it’s too short, doesn’t overlap correctly, or doesn’t extend far enough up the chimney.
The Importance of Prompt Chimney Flashing Repair
Ignoring small issues with your chimney flashing can lead to much bigger, more expensive problems down the road. Water that gets behind the flashing doesn’t just sit there; it can work its way into your attic, walls, and even your foundation. In the winter, this trapped moisture can freeze and expand, causing further damage to your roof and chimney structure.
When water finds its way into your home’s structure, it doesn’t just cause dampness. It can lead to mold growth, rot in wooden beams, and damage to insulation. These issues are not only costly to repair but can also affect the air quality inside your home.
We recommend a visual inspection of your chimney flashing at least once a year, ideally in the late fall before winter sets in and again in the early spring. If you notice any of the issues we’ve mentioned, it’s best to get it looked at by a professional. A small repair now can save you a lot of headaches and money later on, especially when those spring showers start.
Mortar Maintenance to Prevent Water Intrusion
We often focus on the big stuff when it comes to our homes, but sometimes, the smallest details are what keep the water out. For chimneys, that means paying attention to the mortar. Over time, the mortar holding your chimney bricks together can start to break down, and that’s a direct invitation for water to seep in, especially when the snow melts or heavy spring rains arrive.
Signs of Deteriorating Chimney Mortar
Spotting problems early is key. We’ve learned that ignoring these signs can lead to bigger, more expensive repairs down the road. Keep an eye out for:
- Cracks and Gaps: Look for any visible cracks, no matter how small, between the bricks. These are weak points.
- Crumbling Mortar: If the mortar looks powdery, sandy, or is actually falling out in pieces, it’s definitely seen better days.
- Spalling Bricks: Sometimes, the bricks themselves will start to chip or flake. This often happens because water has gotten into the brick and then frozen and thawed.
- Leaning or Sagging: A chimney that doesn’t look straight might have structural issues related to mortar failure.
Effective Mortar Repair Techniques
When we find these issues, we know it’s time for action. The good news is that most mortar problems can be fixed. The process we typically follow involves a few steps:
- Preparation: First, we need to clean out the old, damaged mortar. This usually means using chisels and brushes to get a clean surface for the new material.
- Mixing New Mortar: We mix a new batch of mortar that matches the original type and color as closely as possible. Getting the consistency right is important – not too wet, not too dry.
- Application: Then, we carefully pack the new mortar into the joints. We want to make sure there are no air pockets and that it fills the space completely.
- Finishing: Finally, we tool the joints to match the original profile and then let it cure properly. This step is really about making it look good and protecting the new mortar.
The most important thing is to address these mortar issues before they become major structural problems. It might seem like a small job, but it makes a big difference in keeping your home dry and safe.
We’ve found that regular inspections, even just a quick look-over each spring and fall, can catch these problems when they’re still minor. It saves us a lot of headaches and money in the long run. It’s a bit like preventative maintenance for your car; a little attention now stops a breakdown later.
Wrapping Up Our Chimney Fixes
So, we’ve gone over how to check your chimney flashing and fix those crumbling mortar bits. It might seem like a small job, but getting it right now can save us a lot of headaches when the spring rains start. We don’t want water getting into the house, right? Taking the time to do these repairs ourselves, or at least knowing what to look for when we call someone, is a smart move. It keeps our homes dry and our chimneys working well. Let’s get those repairs done before the weather turns.
Frequently Asked Questions
What are the main signs that our chimney’s metal flashing needs fixing?
We often see rust spots or holes in the metal. Sometimes, the metal might look bent or pulled away from the chimney or roof. Gaps where water can sneak in are also a big clue that we need to take a look.
How can we tell if the mortar on our chimney is falling apart?
You might notice crumbling bits of the cement-like stuff between the bricks. If the mortar looks powdery, has cracks, or is missing in spots, it’s a clear sign that it’s time for repairs. We should also check for loose bricks.
What’s the best way to fix small cracks in our chimney mortar?
For minor issues, we can use a special patching compound. We’ll carefully clean out the crack first, then press the new material in firmly. It helps seal up the small openings before they become bigger problems and let water in.

